
Sephiria builds: how to choose a direction
A framework for comparing weapon, artifact, tablet, and inscription choices without chasing a tier list that does not fit your run.
A framework for comparing weapon, artifact, tablet, and inscription choices without chasing a tier list that does not fit your run.
3 sources · step-by-step guidance · video walkthrough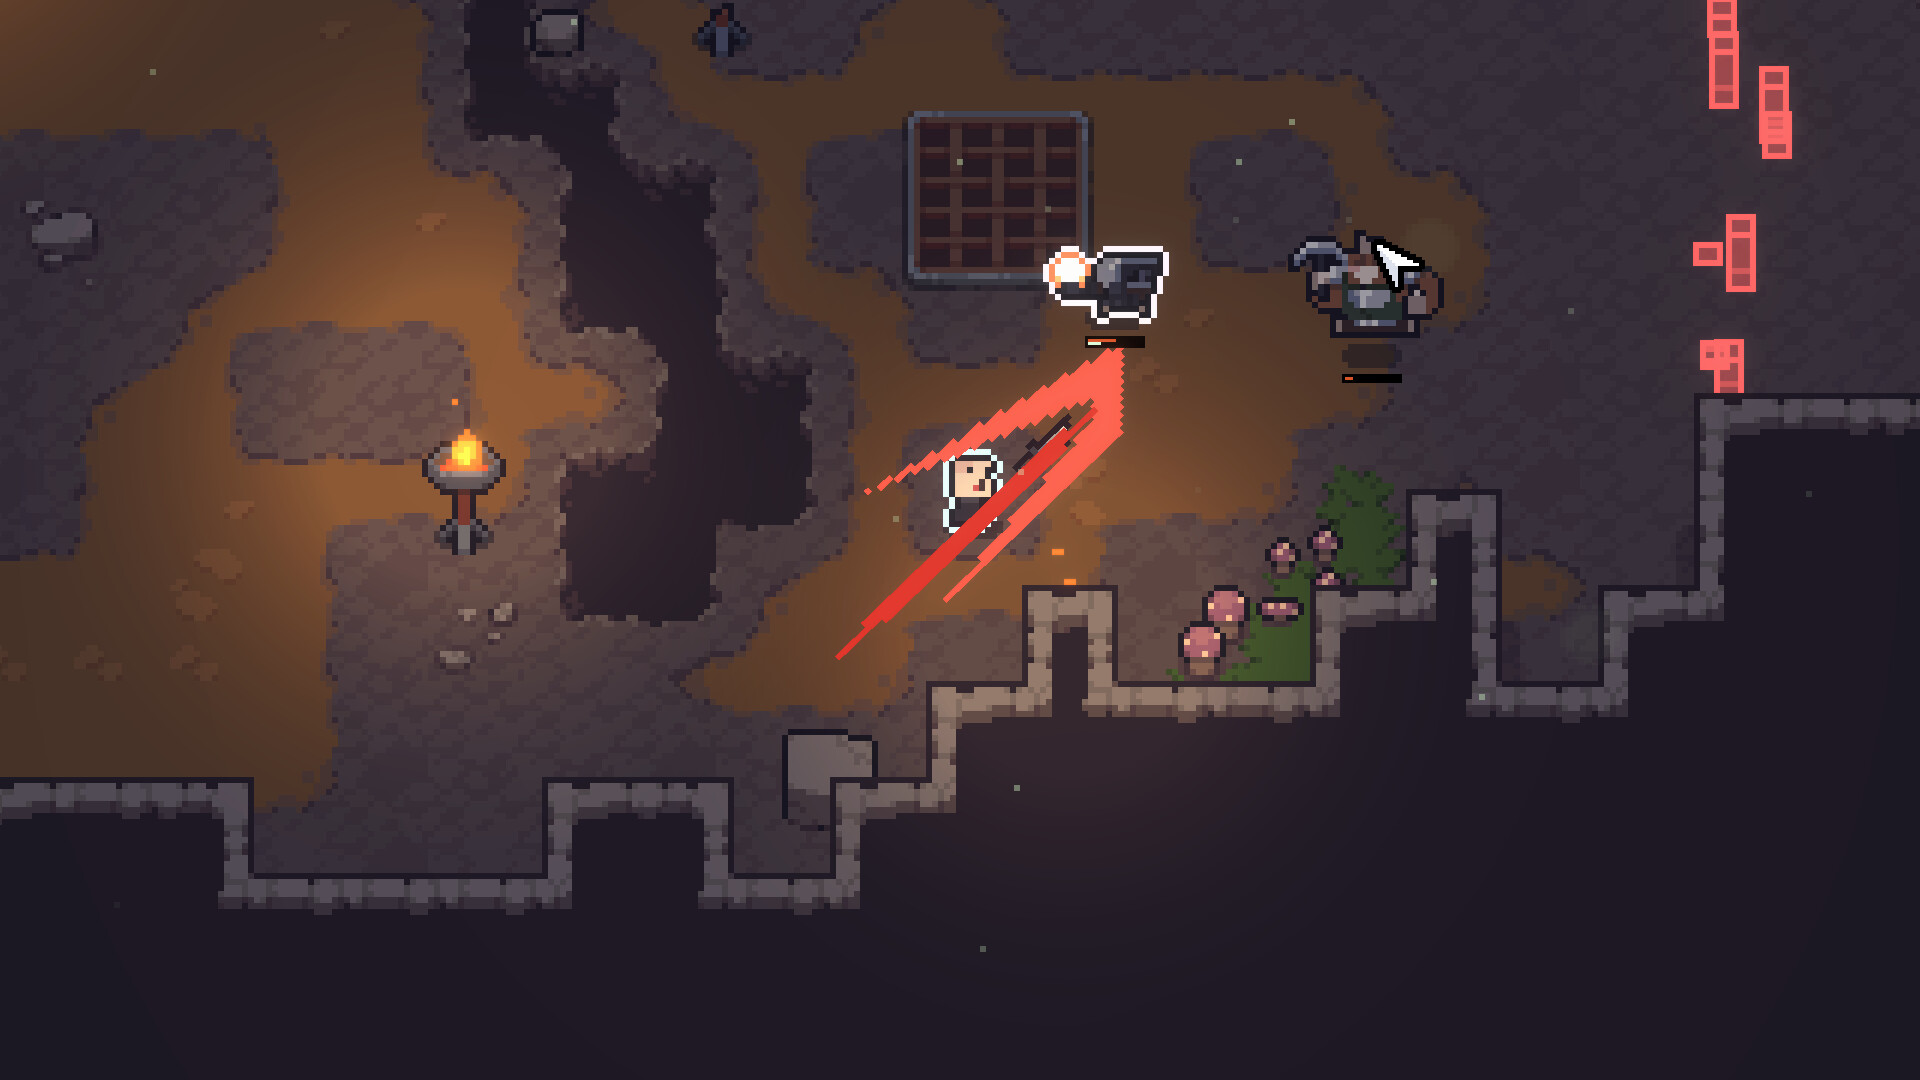

Build around a repeatable action
A build becomes understandable when you can describe the action it wants you to repeat: keep distance, stay aggressive, block into a counter, or convert a defensive window into damage. Start there, then choose weapons and artifacts that make that action more reliable.
The official game description calls out the inventory system and tablet-powered artifacts, so build notes should always record the weapon path and the inventory arrangement together.
Separate the build from the patch
A community build video can demonstrate timing and movement, but its numbers may belong to an earlier patch. Keep the game version, source date, and the exact upgrade names beside every recommendation.
When a build depends on a specific artifact or tablet, link to that item page rather than hiding the dependency inside a paragraph.
Use a simple test
Test a build in three situations: clearing normal rooms, surviving a crowded room, and dealing with a boss window. If it only works in a perfect setup, label it as a specialist build instead of a universal recommendation.
Three build directions to test
A close-range build asks for entry and exit timing; a ranged build asks for a clean firing lane; a spell or companion route asks for resource control. Start with the action you enjoy repeating, then let artifacts and tablets support it.
This makes a build understandable even when the exact drop is random. You are looking for a family of replacements, not one irreplaceable item.
Fallbacks when the run misses
Keep one fallback for damage, one for survival, and one for room control. If the ideal artifact does not appear, switch to the fallback that preserves your route instead of forcing a different build halfway through a chapter.
Record the missing piece and the replacement you used. Those notes are the beginning of a real tier list because they explain why a build works, not just what it contains.
Use this guide in a run
- 01Name the goal
Decide whether the route is for first clear, Hard Mode, boss damage, or co-op support.
- 02Lock the core
Choose the weapon action and the artifact or tablet line that makes it repeatable.
- 03Protect replacements
Keep a damage, survival, and room-control fallback for runs that miss the ideal drop.
- 04Test three rooms
A build is ready when it works in a normal room, a crowded room, and a boss window.
Before you commit to this route
- Name the repeatable action the build is built around
- List the core item and two realistic replacements
- Test a normal room, a dense room, and a boss window
- Record difficulty, version, and solo/co-op context
Quick answers
What does this Sephiria guide cover?
A framework for comparing weapon, artifact, tablet, and inscription choices without chasing a tier list that does not fit your run. Start with the answer block, then use the table or checklist to apply it during a run.
Is this Sephiria information current?
This page is marked 1.0 reference and updated 2026-08-14. Historical community notes are labeled; exact values and unlock conditions should be checked against the current Journal.
Where should I go next?
Use the related guides at the bottom to move from this builds answer into the weapon, build, chapter, boss, or system page behind it.