
Sephiria dagger build: close-range setup and practice plan
A close-range dagger build page built around timing, recovery windows, and artifact choices that can be verified in the current client.
A close-range dagger build page built around timing, recovery windows, and artifact choices that can be verified in the current client.
2 sources · step-by-step guidance · no video added until a matching one is verified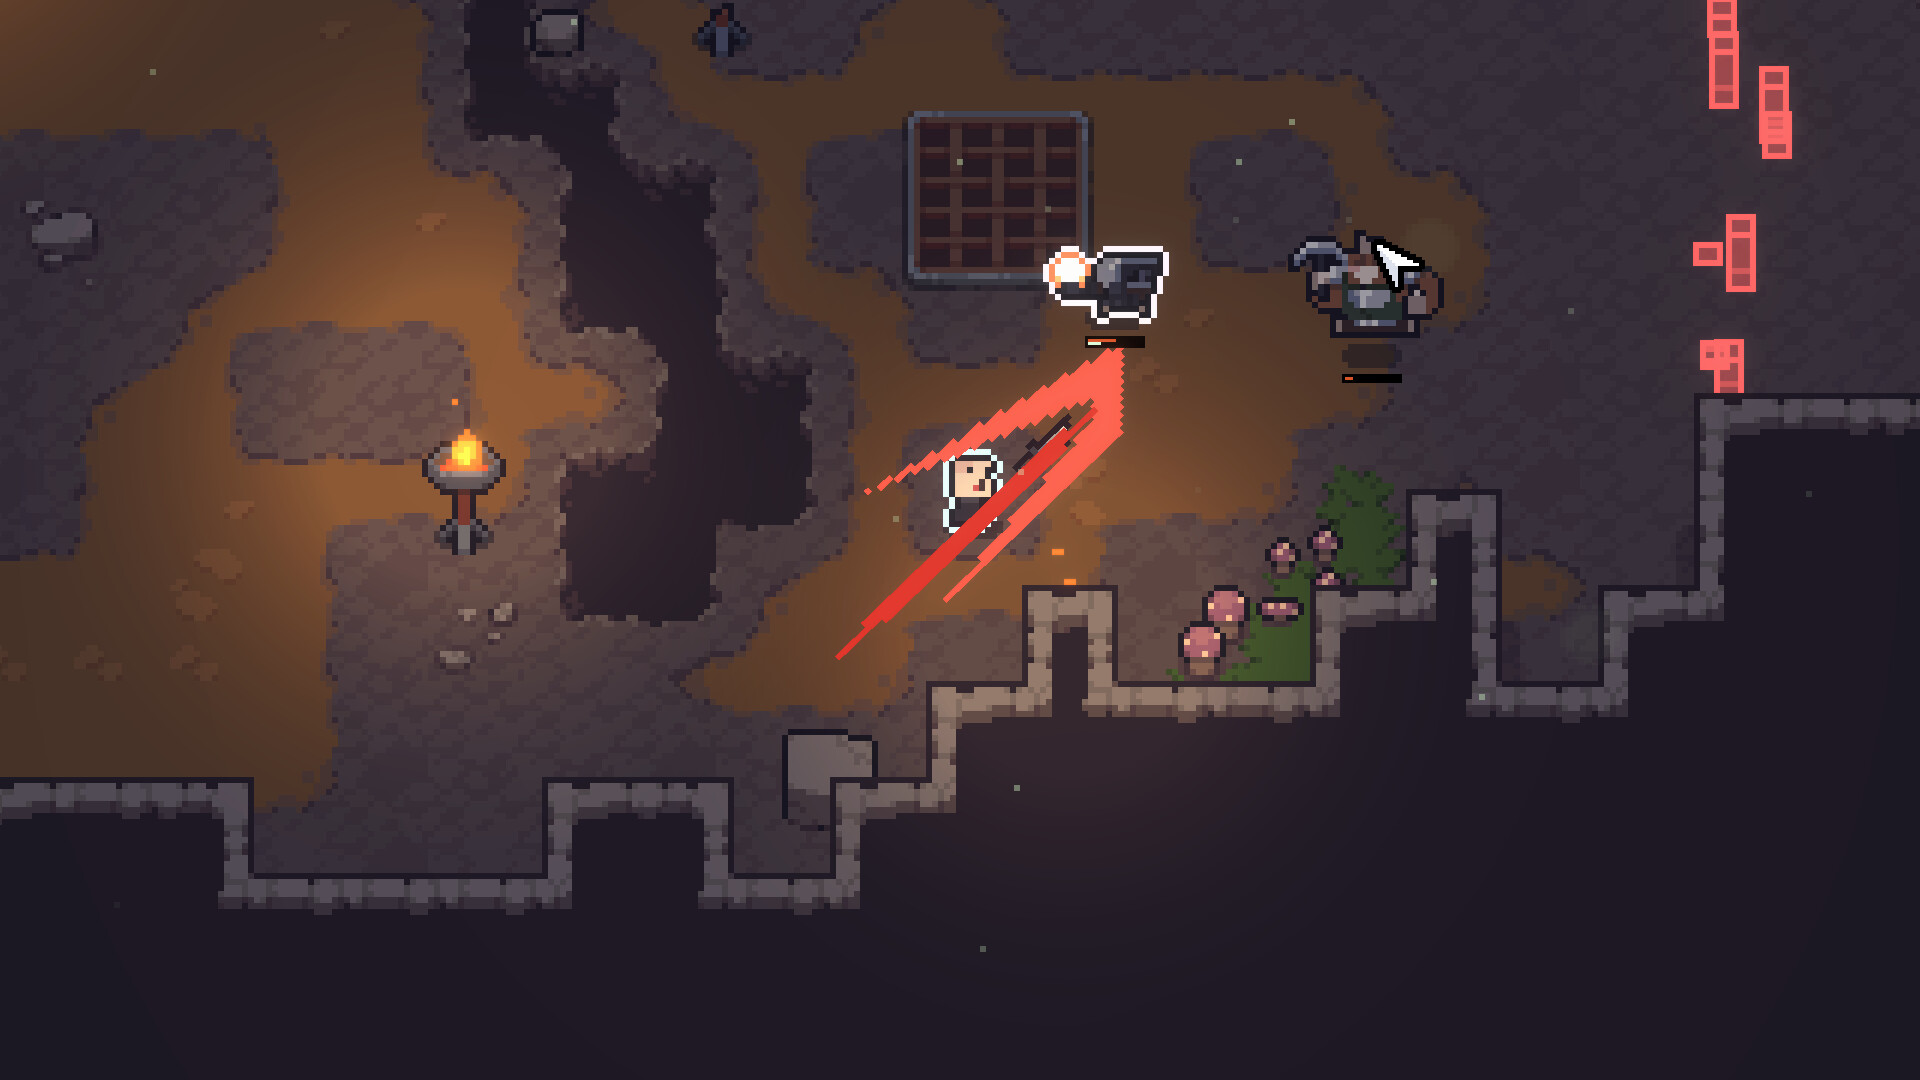

Start with the risk profile
Dagger routes reward players who can read short attack windows. Before chasing damage, test how safely the weapon can enter and exit a room, and whether your chosen artifacts give you a reliable recovery plan.
Do not copy a pre-1.0 damage number without checking the current upgrade tree. Use the in-game Journal to capture the exact names you are using.
Build checklist
Record the weapon branch, attack-speed or damage modifiers, defensive fallback, and the artifact that starts the build. Then test the same setup in normal rooms, an elite encounter, and a boss window.
What to publish
A useful dagger guide explains the opening, the safe disengage, the upgrade priority, and what to take when the ideal artifact does not appear. That is more durable than calling one route S-tier without a patch note.
Entry and exit are the build
Dagger pages should teach the moment of commitment: approach from an angle, complete the safe part of the attack, then leave before the room closes around you. Attack speed is useful only when the player can still see the exit.
Pair close-range damage with one answer for contact risk, such as sustain, defense, or a reliable space-making effect. The exact item should be verified in the current Journal.
Practice drill
Run one room without chasing damage and count how often you leave safely. Then add the first offensive upgrade and repeat. This separates a weapon problem from a route or positioning problem.
Record the replacement artifact that kept the build playable when the preferred drop was missing. That is the detail readers cannot get from a tier label.
Use this guide in a run
- 01Name the goal
Decide whether the route is for first clear, Hard Mode, boss damage, or co-op support.
- 02Lock the core
Choose the weapon action and the artifact or tablet line that makes it repeatable.
- 03Protect replacements
Keep a damage, survival, and room-control fallback for runs that miss the ideal drop.
- 04Test three rooms
A build is ready when it works in a normal room, a crowded room, and a boss window.
Before you commit to this route
- Name the repeatable action the build is built around
- List the core item and two realistic replacements
- Test a normal room, a dense room, and a boss window
- Record difficulty, version, and solo/co-op context
Quick answers
What does this Sephiria guide cover?
A close-range dagger build page built around timing, recovery windows, and artifact choices that can be verified in the current client. Start with the answer block, then use the table or checklist to apply it during a run.
Is this Sephiria information current?
This page is marked 1.0 reference and updated 2026-08-14. Historical community notes are labeled; exact values and unlock conditions should be checked against the current Journal.
Where should I go next?
Use the related guides at the bottom to move from this builds answer into the weapon, build, chapter, boss, or system page behind it.