
Sephiria Chapter 6 final boss guide: laser cues and phase prep
The final-boss reference for red laser telegraphs, inventory preparation, Destiny Inscription survivability, and phase-by-phase discipline.
The final-boss reference for red laser telegraphs, inventory preparation, Destiny Inscription survivability, and phase-by-phase discipline.
3 sources · reference table included · video walkthrough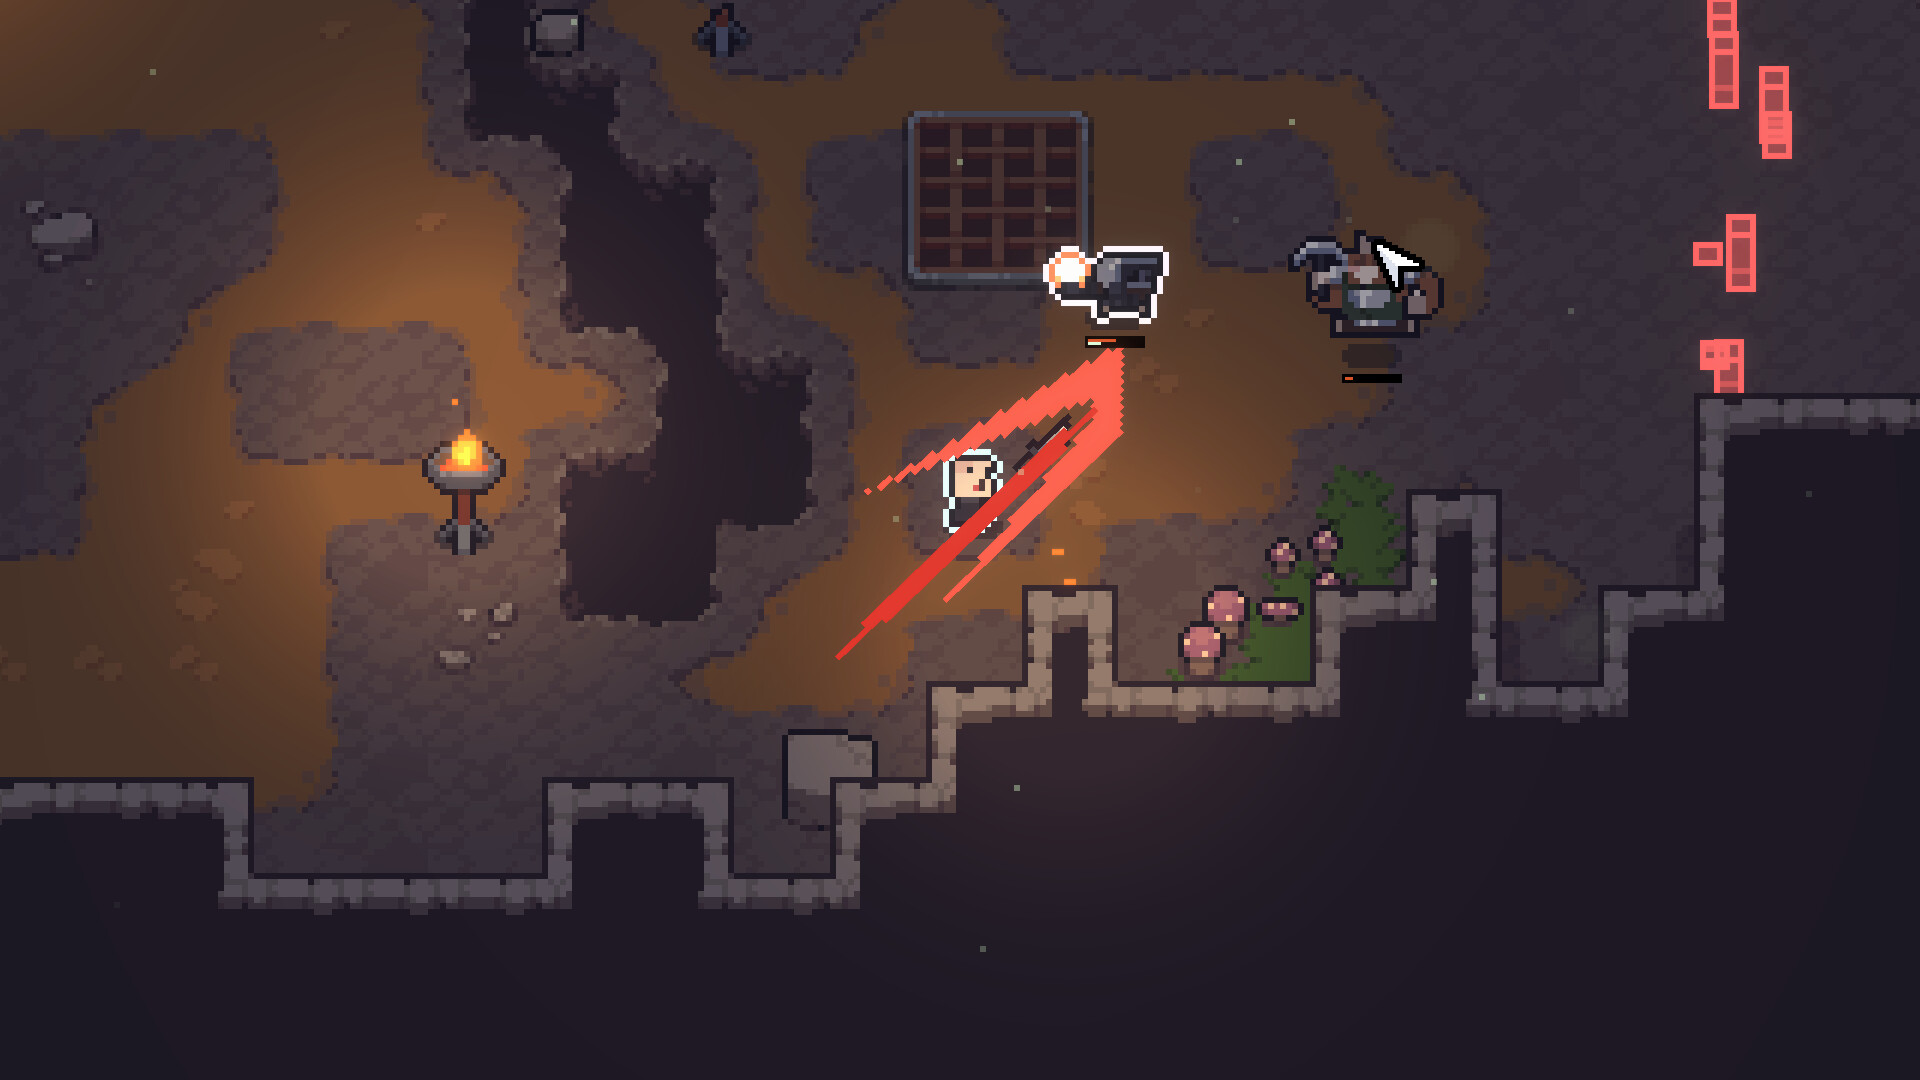

Why the final fight tests the whole game
The final boss compresses movement, stagger timing, add control, and burst discipline into one encounter. Arrive with a build whose core action you can perform while moving, not a paper build that only works in a quiet room.
Prepare the grid before the room
Use the Side Bag for the item that solves the final phase, keep one recovery option active, and leave enough grid space to preserve the route if a late upgrade appears. Do this before the door, not after the first hit.
Read the laser, then punish
Treat the red laser cue as a movement phase. Once the line resolves, take the shortest safe punish and leave before the next cue. In co-op, nominate one caller so the party does not split across the arena.
Review a wipe before retrying
Write down the first mistake, not only the final hit. Was movement space already gone? Did the party use burst during an invulnerable moment? Did the grid line fail to activate? Solving that first failure is usually more valuable than changing every item at once.
For solo practice, use the opening phase to protect consumables and learn one cue at a time. For co-op, make calls shorter than the attack: direction, adds, shield, burst. A readable call gives the party enough time to act before the next telegraph overlaps it.
Build a final-room loadout, not a showcase build
Before the door, check that the core grid line is active, a recovery option is still available, and the Side Bag contains the one item you would change for a long final phase. If a route needs a perfect late drop to work, it is not ready for a reliable clear.
A safe burst routine is short: wait for the planned opening, spend the prepared resource, then reset to movement. Treat a missed damage window as a lost opportunity, not permission to ignore the next telegraph. That discipline is usually the difference between a near-clear and a repeatable clear.
Final-boss phase plan
Use this as a repeatable practice loop: read the telegraph, protect movement space, then take only the shortest safe punish. Exact phase names and thresholds should be checked in the current client.
| Phase job | Player priority | Co-op call |
|---|---|---|
| Opening patterns | Identify line and arc cues without spending burst resources. | Name the safe direction before the team moves. |
| Add pressure | Keep a path open; use room control before chasing the boss. | One player owns adds while the frontline manages facing. |
| Damage window | Spend the planned burst, then leave before the next beam or telegraph. | Call the count-in so Miracles and cooldowns do not overlap. |
| Hard Mode modifier | Swap the Side Bag item that answers the active modifier before the door. | Do not stack on one tile during overlapping patterns. |
Use this guide in a run
- 01Prepare outside the door
Set the grid, Side Bag, healing margin, and difficulty before entering.
- 02Name the telegraph
Learn the visual cue before deciding whether the move is safe to punish.
- 03Take one window
Use the shortest reliable punish, then leave before the next phase cue.
- 04Review the run
Record the attack that forced movement and the resource that saved the clear.
Before you commit to this route
- Identify the visual cue before naming the attack
- Separate forced movement from punish windows
- Record difficulty, weapon, and version
- Explain solo spacing and co-op regrouping
Quick answers
How do I prepare for Sephiria's final boss?
Enter with an active tablet line, recovery reserve, movement space, and a short planned burst routine. Do not rely on an untested late-drop interaction.
What should co-op players call out in the final fight?
Keep calls short and actionable: direction, adds, shield, or burst. Naming the safe direction before the party moves is more useful than describing the full attack.
What is the most common final-boss mistake?
Greed after a damage window. Take the planned short punish, then reset to movement before the next telegraph overlaps the previous one.